

How to authorize with an API key
HERE API keys provide simple and secure authentication for your applications. You can use two API keys per application.
Get an API key
There are two prerequisites to getting an API key:
- A HERE account. If you don't already have a HERE account, see Get a HERE account.
- An app on the HERE platform. For information on creating apps, see Manage apps.
To get an API key:
- Sign in to the HERE platform.
- Select the Access Manager from the launcher.
- On the Apps tab, select the app to generate an API key.
- On the Credentials tab, select API Keys and then click Create API key. You can generate a maximum of two API Keys.
Note
Your application and associated authentication credentials are specific to your app and do not inherit your user permissions or group memberships.
If you don't see the Credentials tab, or it's greyed out, you may not have manager permissions for the app.
Using API keys in a request
To use the API key in a request, pass the key via the apiKey parameter:
https://geocode.search.hereapi.com/v1/geocode?q=240+Washington+St.%2C+Boston&limit=4&apiKey={YOUR_API_KEY}API key rotation
You can use the API key credentials key rotation feature to improve the security of your app. Create a second API key for your app and delete the original key when it's no longer required.
Trusted domains
By default, any website can make requests to subscribed HERE services using your API Key. However, trusted domains let you limit the use of your API Key credentials to designated sites.
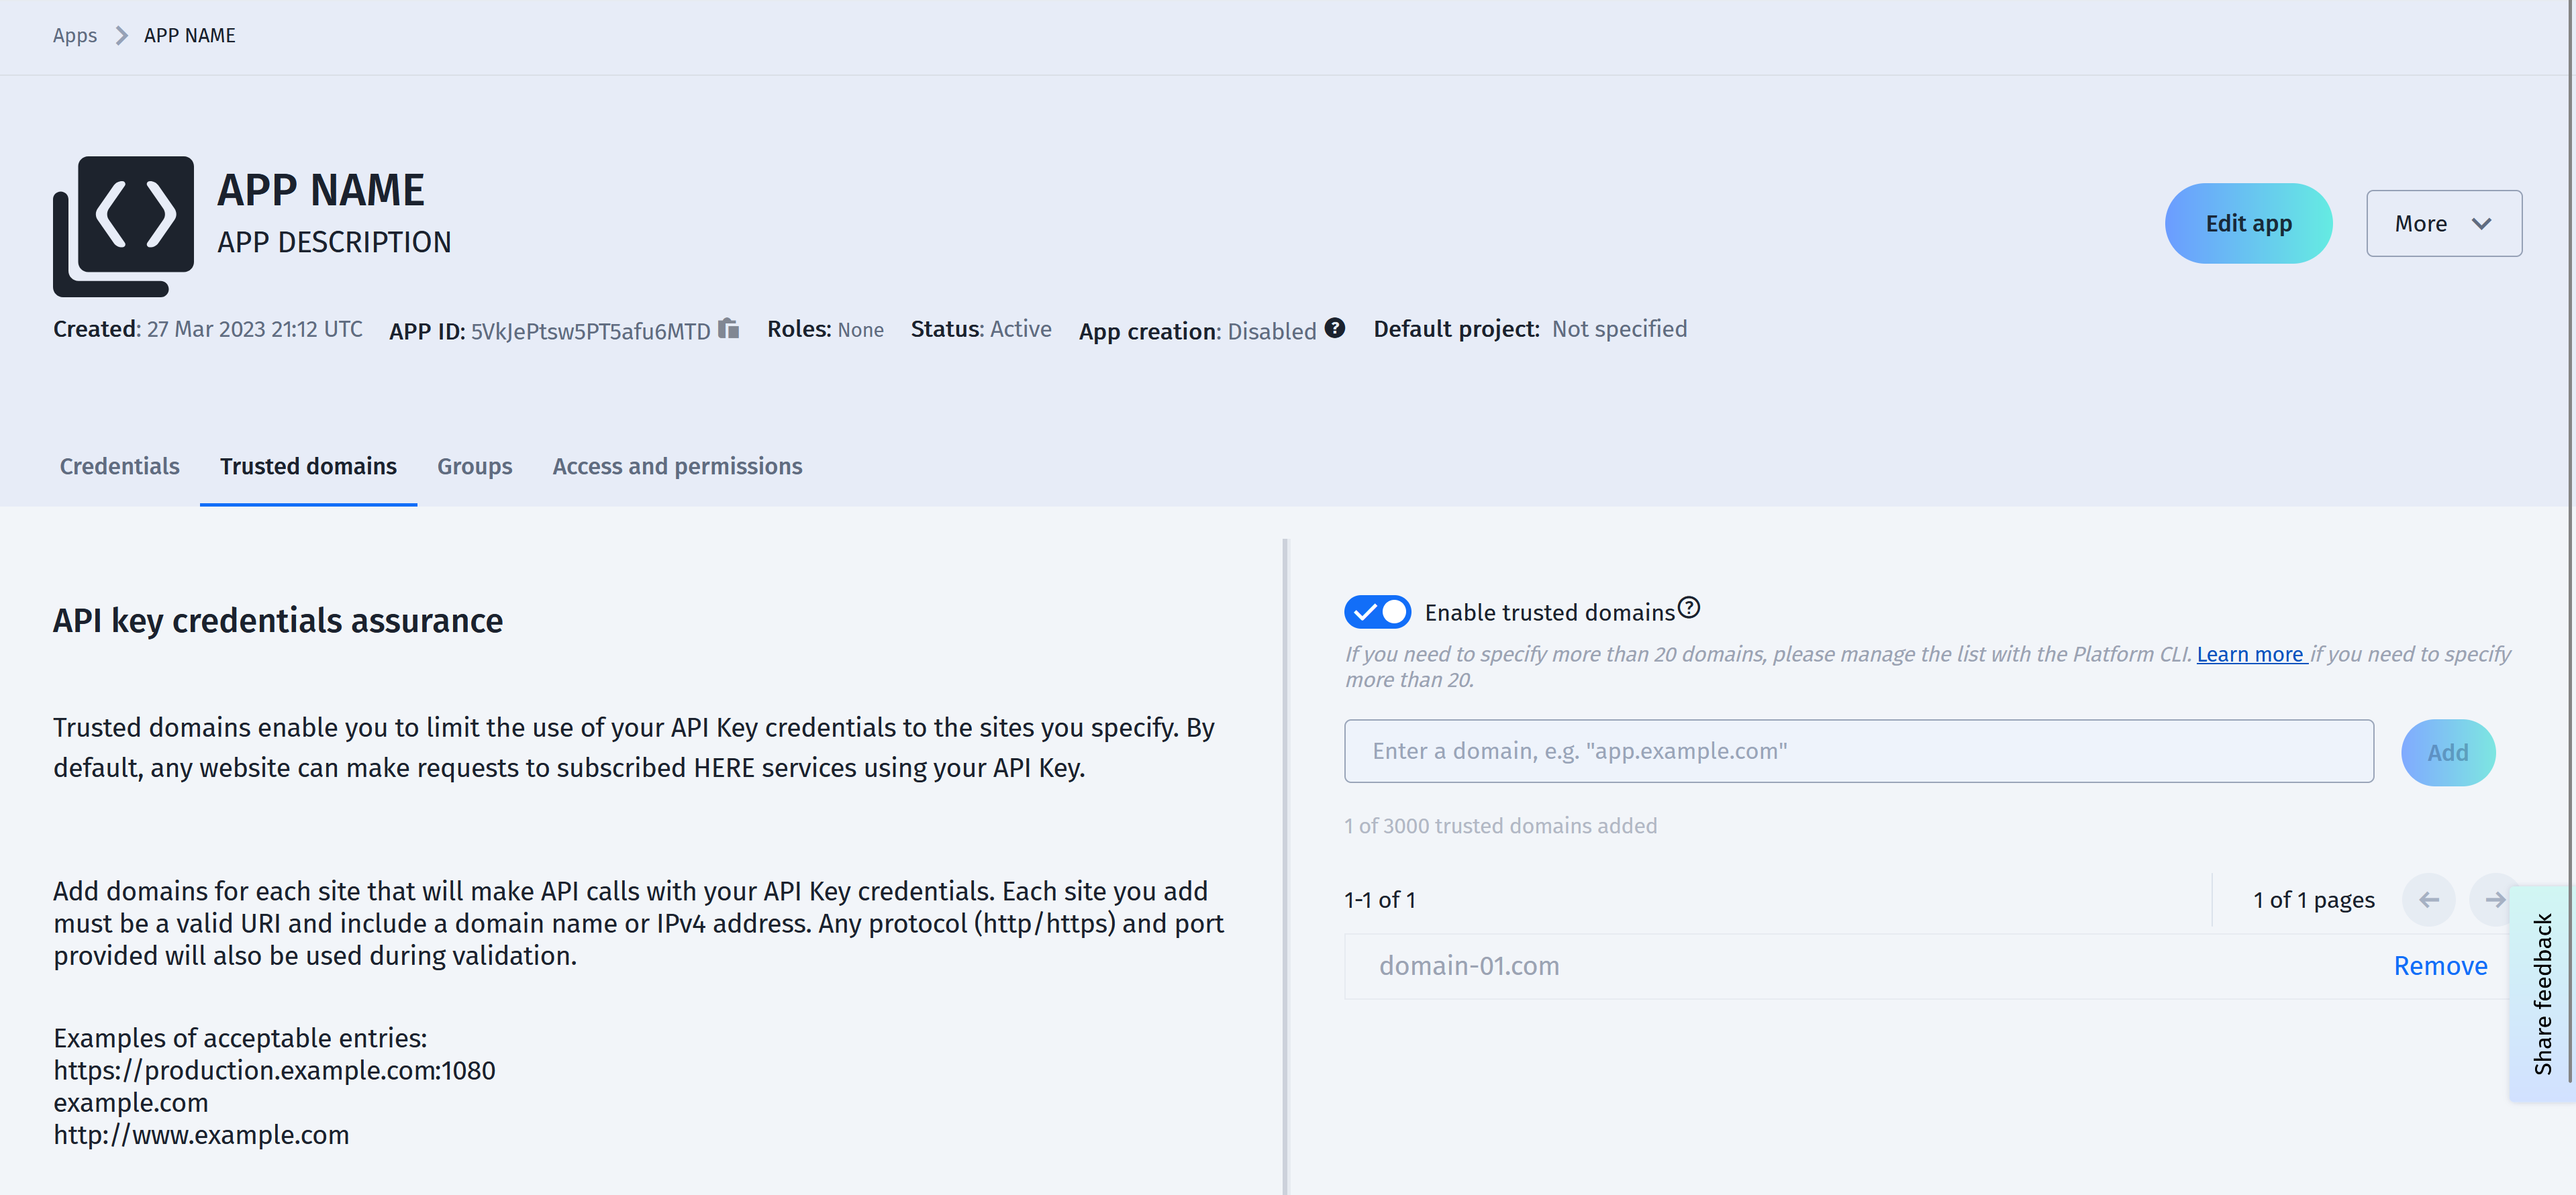
API key credentials assurance
Add domains for each site that make API calls with your API Key credentials. Each site you add must be a valid URI and include a domain name or IPv4 address. Any protocol (http/https) and port provided is also used during validation.
Examples of acceptable entries
https://production.example.com:1080example.com93.184.216.34http://www.example.com
Configure trusted domains
To configure trusted domains:
- Sign in to the HERE platform.
- Open the Access Manager from the launcher.
- On the Apps tab, select the app to configure for trusted domains.
- On the Trusted domains tab, specify and add up to 20 domains that you trust for your API Key credentials. If you need to specify more than 20 domains, manage the list with the HERE OLP CLI.
- After confirming your list of trusted domains, toggle the option for Enable trusted domains to on.
Note
When there are no domains defined, enabling trusted domains has no effect.
Any service configured to use the app's API Keys is limited to using the specified trusted domains.
To disable the use of trusted domains, toggle Enable trusted domains to off.
Note
It may take up to 30 minutes for any configuration change for trusted domains to take effect. Tests performed within this timeframe may not return the expected results.
Trusted domain examples
Trusted domain entries and URI substrings must conform to the following validation rules:
- Entries must include a domain name. For example,
here.com. - Entries must be no longer than 2048 characters.
- Entries must use the correct URI format.
Optional domain elements that can be included in trusted domains are:
- Protocol. For example,
https://here.com. - IPv4 addresses. For example,
192.168.1.1or192.168.1.1:1080. - Ports. For example,
https://here.com:1080.
The HERE platform conducts matches for each stored domain. The following sample table provides an overview of the matching rules and associated results:
| Stored domain | Referrer header | Match Result |
|---|---|---|
https://example.com | example.com | No |
http://example.com | example.com | No |
https://example.com | https://example.com | Yes |
https://example.com:1080 | https://example.com | No |
https://example.com:1080 | example.com:1080 | No |
example.com | https://example.com:1080 | Yes |
example.com | https://example.com | Yes |
example.com | foo.example.com | Yes |
foo.example.com | example.com | No |