Build HERE Maps with TypeScript
Note
The 3.1 version of this API has been deprecated. For continued support and feature development, upgrade to the latest 3.2 version.
This tutorial guides you through the process of integrating the Maps API for JavaScript with TypeScript and Webpack. By following these steps, you set up a comprehensive environment to make the most of the Maps API for JavaScript with TypeScript and Webpack in your project.
Before you begin
Ensure that you installed the following software in your system:
- Node.js - JavaScript runtime environment that allows running JavaScript code outside a web browser.
- NPM (Node Package Manager) - Package manager for Node.js that facilitates the installation, sharing, and management of dependencies (libraries and tools) for Node.js projects.
Configure a TypeScript project
-
Create a folder for your TypeScript project.
-
Open the Command Prompt, and then change the directory to the project folder.
-
Enable the use of the Maps API for JavaScript with NPM by adding the public Maps API for JavaScript repository to the NPM configuration through the following command:
npm config set @here:registry https://repo.platform.here.com/artifactory/api/npm/maps-api-for-javascript/ -
Initialize a
package.jsonfile for your project by running the following command:npm initThe Node.js environment prompts you to confirm or modify certain settings by presenting a series of questions in the command line. You can provide input to customize the
package.jsonfile during this initialization process or accept the default settings. -
Complete the
package.jsongeneration by enteringyesat the final confirmation prompt. -
Include the Maps API for JavaScript library as a dependency:
npm install @here/maps-api-for-javascript@1 -
Install development dependencies for Webpack:
npm install --save-dev webpack webpack-cli -
Install the TypeScript compiler and loader:
npm install --save-dev typescript ts-loader -
In the project folder, create the following
tsconfig.jsonfile:{ "compilerOptions": { "outDir": "./dist/", "noImplicitAny": true, "module": "es6", "target": "es5", "jsx": "react", "allowJs": true, "moduleResolution": "node" } } -
In the project folder, create the following
webpack.config.jsfile:const path = require('path'); module.exports = { entry: './index.ts', module: { rules: [{ test: /\.tsx?$/, use: 'ts-loader', exclude: /node_modules/, }], }, resolve: { extensions: ['.tsx', '.ts', '.js'], }, output: { filename: 'index.js', path: path.resolve(__dirname, 'dist'), }, mode: 'production', node: { global: false, }, performance: { maxEntrypointSize: 2048000, maxAssetSize: 2048000 } }; -
In the project folder, create the following
index.tsfile that is the entry point for your TypeScript code:// Import the HERE Maps API for JavaScript library import "@here/maps-api-for-javascript"; // Create default map layers using the HERE Maps platform const platform = new H.service.Platform({ apikey: "YOUR_HERE_APIKEY", }); // Create a new map instance with specified options const maptypes = platform.createDefaultLayers({ppi:250}); const map = new H.Map( document.getElementById("mapContainer"), // Target HTML element for the map maptypes.vector.normal.map, // Use the vector map type { pixelRatio: 2, zoom: 11, center: { lng: 14.3279, lat: 40.8352 }, } ); // Enable basic map events for user interaction new H.mapevents.Behavior(new H.mapevents.MapEvents(map)); -
In the project folder, create the following
index.htmlfile:<html> <head> <meta name="viewport" content="initial-scale=1.0, width=device-width" /> <meta charset="utf-8"> <style> #map { position: absolute; left: 0; top: 0; width: 100%; height: 100%; } </style> </head> <body> <div id="mapContainer"></div> <script src="./dist/index.js"></script> </body> </html>This file is the main entry point for your web application when it is loaded in a web browser.
Result: The final project folder structure consists of the following files and folders:
project folder (root)node_modules/index.htmlindex.tspackage.jsonpackage-lock.jsontsconfig.jsonwebpack.config.json
-
In your project folder, open the
package.jsonfile and add the following command in thescriptssection:"build": "webpack"Now, when you run the
npm run buildcommand in the terminal, thebuildscript automatically triggers the Webpack bundling process, as defined in your project's configuration. -
Run the following command to build and generate the bundled output:
npm run buildAfter the build completes, the Command Prompt displays a success message and a
distfolder is created that contains the JavaScript code responsible for managing the map. -
From the project folder, open the
index.htmlfile in a web browser page.
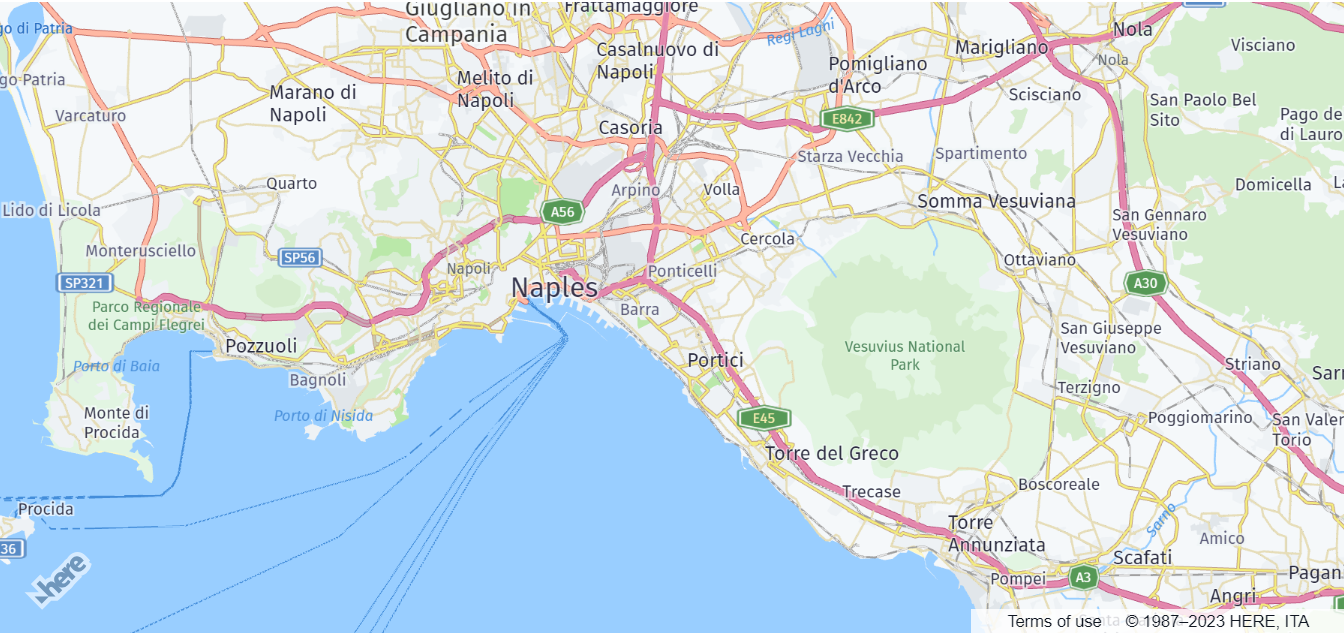
Result: The web page displays an interactive HERE map, as shown in the following example:
Next steps
- To learn more about other Maps API for JavaScript features that you can use to increase map interactivity, see the
Tutorialssection of this guide. - To explore the design and features of the Maps API for JavaScript, see the API Reference.
Updated last month