HERE Maps API for JavascriptとWebpackおよびRollupをバンドルする
このセクションでは、WebpackやRollupなど特に一般的な複数のバンドラーを使用してHERE Maps API for Javascriptをバンドルする方法を説明します。次のセクションでは、それぞれのバンドラー用の出力を生成するシンプルな定型コードを示します。
利用開始
NPM (ノードパッケージマネージャー) でHERE Maps API for Javascriptを使用できるようにするには、次の例に示すように、HEREの公開リポジトリをNPM設定に追加する必要があります。
npm config set @here:registry https://repo.platform.here.com/artifactory/api/npm/maps-api-for-javascript/-
node.jsとnpmがインストールされていると想定し、プロジェクトを格納するディレクトリを作成して、コンソールから次のコマンドを入力して実行します。npm initこのコマンドを実行すると、プロジェクトの設定ウィザードが起動し、必要に応じてベースプロジェクトのプロパティをカスタマイズできます。結果として、次の例に示すような
package.jsonが作成されます。{ "name": "bundling-test", "version": "1.0.0", "description": "", "main": "index.js", "scripts": { "test": "echo "Error: no test specified" && exit 1" }, "author": "", "license": "ISC" } -
次のコマンドを入力して、HERE Maps API for Javascriptライブラリに依存関係を追加します。
npm install @here/maps-api-for-javascript --save
ビジネス目標に応じて、RollupまたはWebpackのバンドラーを選択できます。
Rollup
マッピングアプリのバンドラーとしてRollupを使用するには、次の手順を実行します。
-
Rollupに対する開発用の依存関係とRollupモジュール解決プラグインをプロジェクトに追加します。
npm install rollup @rollup/plugin-node-resolve --save-dev -
以下の設定を使用して、プロジェクトのルートディレクトリにRollup設定ファイル
rollup.config.mjsを作成します。import resolve from '@rollup/plugin-node-resolve'; export default { input: 'index.js', output: { dir: './out/', format: 'iife' }, // Disable "Use of Eval" Warning onwarn: function (message) { if (/mapsjs.bundle.js/.test(message) && /Use of eval/.test(message)) return; console.error(message); }, plugins: [resolve()] };Rollupがローカルにインストールされました。前の例で示した設定では、バンドルされたスクリプトの入力ソースと出力ディレクトリ、出力形式を定義します。
-
package.jsonのscriptsオブジェクトを更新し、bundleターゲットを追加します。"bundle": "rollup --config rollup.config.mjs" -
Rollupのエントリーポイントとなる
index.jsファイルを作成します。import H from '@here/maps-api-for-javascript'; // Initialize the platform object: const platform = new H.service.Platform({ apikey: 'YOUR_API_KEY' }); // Obtain the default map types from the platform object const maptypes = platform.createDefaultLayers(); // Instantiate (and display) a map object: const map = new H.Map( document.getElementById('mapContainer'), maptypes.vector.normal.map, { zoom: 10, center: { lng: 13.4, lat: 52.51 } }); const behavior = new H.mapevents.Behavior(new H.mapevents.MapEvents(map)); // Enable dynamic resizing of the map, based on the current size of the enclosing container window.addEventListener('resize', () => map.getViewPort().resize()); -
「バンドラーを実行する」の手順に従って、Rollupアプリを起動します。
Webpack
マッピングアプリのバンドラーとしてWebpackを使用するには、次の手順を実行します。
-
次の例に示すように、必要な開発依存関係をwebpackに追加します。
npm install webpack webpack-cli --save-dev -
以下の設定を使用して、プロジェクトのルートディレクトリに
webpack.config.js設定ファイルを作成します。const path = require('path'); const TerserPlugin = require('terser-webpack-plugin'); module.exports = { node: { global: false }, mode: 'production', entry: { index: './index.js' }, output: { publicPath: './out/', path: path.resolve(__dirname, 'out'), filename: '[name].js', chunkFilename: '[name].bundle.js' }, optimization: { minimizer: [new TerserPlugin({ exclude: /mapsjs/ })], } };上記の設定ファイルでは、
mapsjs.bundle.jsは縮小プロセスから明示的に除外されます。これは、二重縮小による悪影響を防ぐために重要です。エントリーモジュール自体は、Webpackのコード分割を使用するために、HERE Maps API for JavaScriptを遅延読み込みします。 -
Webpackのローカルインストールで、
bundleターゲットを追加して、package.jsonのscriptsセクションを更新します。"bundle": "webpack" -
バンドラーのエントリーポイントである
index.jsファイルを作成します。import( /* webpackChunkName: "mapsjs" */ '@here/maps-api-for-javascript').then( ({ default: H }) => { const platform = new H.service.Platform({ apikey: 'YOUR_HERE_APIKEY' }); // Obtain the default map types from the platform object const maptypes = platform.createDefaultLayers(); // Instantiate (and display) a map object: const map = new H.Map( document.getElementById('mapContainer'), maptypes.vector.normal.map, { zoom: 10, center: { lng: 13.4, lat: 52.51 } }); const behavior = new H.mapevents.Behavior(new H.mapevents.MapEvents(map)); // Enable dynamic resizing of the map, based on the current size of the enclosing container window.addEventListener('resize', () => map.getViewPort().resize()); } ).catch(error => console.log(error));上記のコードは動的
importsを使用しています。これは、Webpackの動的コード分割の推奨方法です。 -
「バンドラーを実行する」の手順に従って、Webpackアプリを起動します。
バンドラーを実行する
ブラウザーウィンドウでマッピングアプリを初期化するには、次の手順を実行します。
-
プロジェクトのルートディレクトリに、次の例に示すように、アプリケーションのエントリーポイントとなる
index.htmlファイルを作成します。<html> <head> <meta name="viewport" content="initial-scale=1.0, width=device-width" /> <style> #map { position: absolute; left: 0; top: 0; width: 100%; height: 100%; } </style> </head> <body> <div id="mapContainer"></div> <script src="./out/index.js"></script> </body> </html> -
以下のコマンドをコンソールから実行します。
npm run bundle
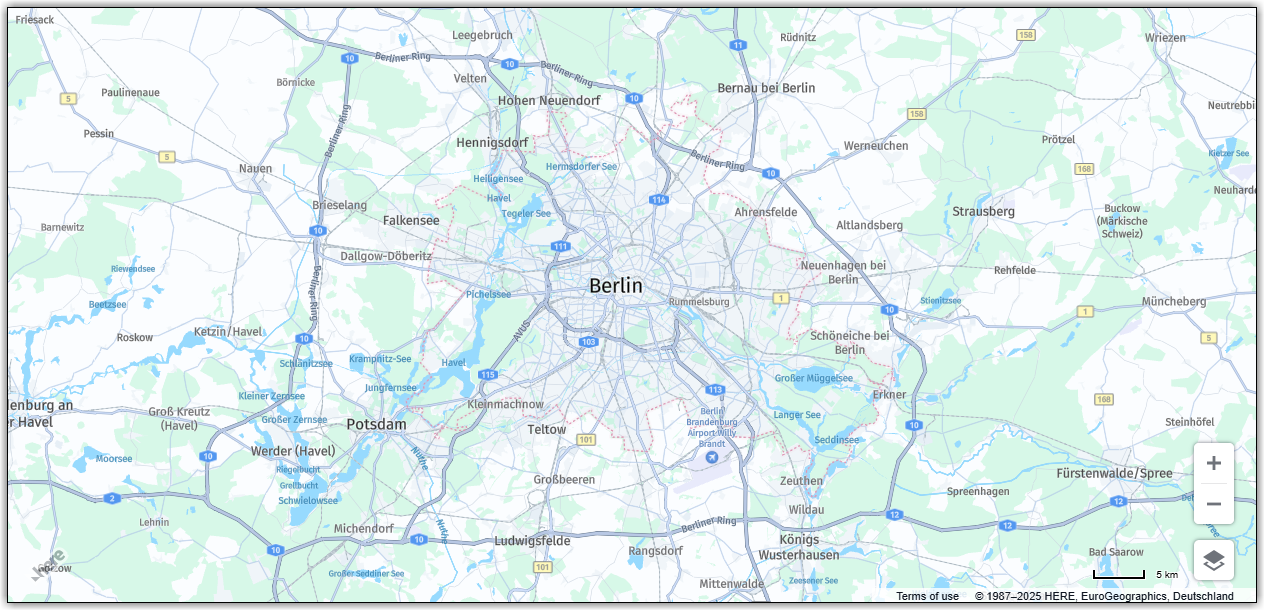
これにより、バンドルされたビルドが生成され、それがoutディレクトリに配置されます。ブラウザーからindex.htmlページにアクセスすると、次の結果が表示されます。
次のステップ
その他のバンドラーの詳細については、「HERE Maps API for JavascriptとViteをバンドルする」を参照してください。
2 か月前の更新