Add a map view with Jetpack Compose
To take a fully declarative UI approach for your app, use Kotlin and Jetpack Compose with the MapView class. Jetpack Compose provides an alternative to traditional XML layouts, offering a code-based approach to UI development that integrates seamlessly with the HERE SDK.
If you prefer using XML layouts instead of Jetpack Compose, or if you're working with an existing project that uses XML-based layouts, refer to the Integrate the HERE SDK section which covers the XML implementation approach.
Create a new project with Jetpack Compose
Start Android Studio (we used version Android Studio Narwhal 4 Feature Drop | 2025.1.4 for this tutorial) and perform the following steps:
- Select File and click New Project.
- Choose Phone and Tablet, select Empty Activity and click Next.
- Provide a project name, e.g. "HelloMapKotlin".
- Next to Minimum API level, set API 24 as the minimum Android SDK.
- Select a Build configuration language.
- Make sure an appropriate directory is chosen in Save location and click Finish to continue.
Note that selecting Empty Activity ensures that you use Jetpack Compose in your app.
Once the wizard finishes, make sure to build the plain project and execute it on an emulator (or on a device). If all goes well, you should see the "Hello Android" text.
Configure the project to include the HERE SDK
Before you begin adding the map view with Jetpack Compose, ensure you have completed the following setup steps:
- Make sure you have access to your credentials and the HERE SDK framework. To learn more, see Get started.
- Ensure that you have properly integrated the HERE SDK:
Adding the map view
Once you have integrated the HERE SDK into your project and set your credentials, add a new MapView using Jetpack Compose.
Open MainActivity.kt. If you followed Android Studio’s wizard, it probably includes a sample composable function called Greeting(). You can go ahead and remove that method, as we are replacing it with the map view.
Inside the MainActivity class, create a member variable for our MapView instance:
private var mapView: MapView? = nullThe MapView class provided by the HERE SDK is a regular Android View (not a composable). In Jetpack Compose, we can display traditional Android views using a composable called AndroidView.
Add the following composable method inside your MainActivity:
@Composable
fun HereMapView(savedInstanceState: Bundle?) {
    AndroidView(factory = { ctx ->
        MapView(ctx).apply {
            setupMapView(savedInstanceState, this)
        }
    })
}
This creates a MapView programmatically and passes it to a setupMapView() method for further initialization.
Now, add the following method to your MainActivity. This initializes the MapView, restores its state, and loads the map scene:
private fun setupMapView(savedInstanceState: Bundle?, mapView: MapView) {
    this.mapView = mapView
    mapView.onCreate(savedInstanceState)
    mapView.onResume()
    if (savedInstanceState == null) {
        mapView.mapScene.loadScene(MapScheme.NORMAL_DAY, null)
    }
}
An error indicating that MapView is an unresolved symbol appears, so use the auto completion hotkey to add com.here.sdk.mapview.MapView to your imports list, or add it manually.
Note that multiple MapView instances can be created and rendered together on one screen.
To display the map on the screen, you need to call your composable function HereMapView() inside the onCreate() method of your MainActivity:
override fun onCreate(savedInstanceState: Bundle?) {
    super.onCreate(savedInstanceState)
    initializeHERESDK()
    setContent {
        MyApplicationTheme {
            HereMapView(savedInstanceState)
        }
    }
}
Build and run
Now it's time to build and run the app. If all goes well, you should see a HERE map covering the whole area of the view.
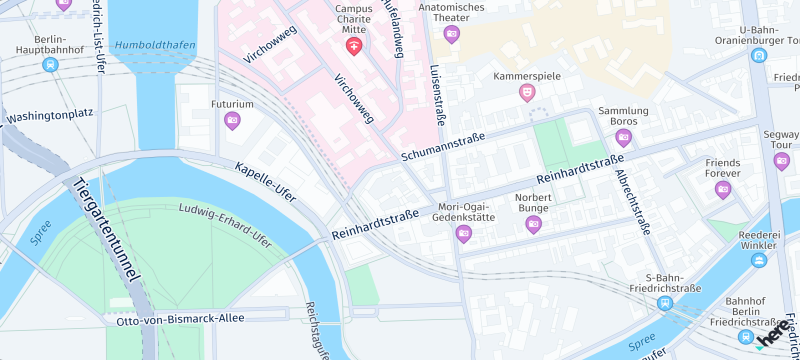
Screenshot: Showing map view.
Updated 4 hours ago